Hi there! I know to many people it’s still early, but I’ve been getting ready for Christmas by starting on my Christmas cards. As a Stampin’ Up! Demonstrator, we get advance previews on new catalogues, so recently I’ve been drooling over the new Autumn/Winter book, which is jam packed full of fabulous seasonal goodies. I’ll be posting videos with them very soon. But for now, I’ve stuck to the main 2016-17 catalogue, which has Christmas sets on pages 26-35. This one uses the Joyful Nativity stamp set, and at first I made a very simple and easy layered card, with a gold embossed angel in the centre of the O of Joy. Then I thought about making it more interesting, and the spinner card sprang to mind. You can find the video below, as well as step by step instructions.
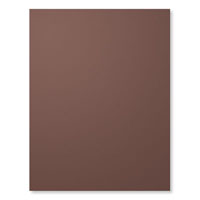
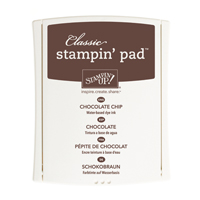
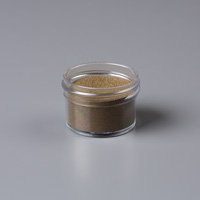
Start by stamping Joy in Chocolate Chip ink onto a piece of Very Vanilla cardstock that is 2 3/4″ by 4 1/4″. Then stamp the angel in the centre of the O using Versamark ink, and emboss with gold embossing powder. As always, you’ll get better results if you use your embossing buddy on the card before you stamp. It really makes a difference stopping little particles of embossing powder clinging to the card instead of your stamped image.

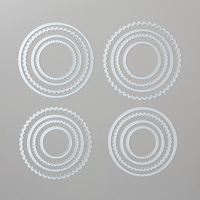
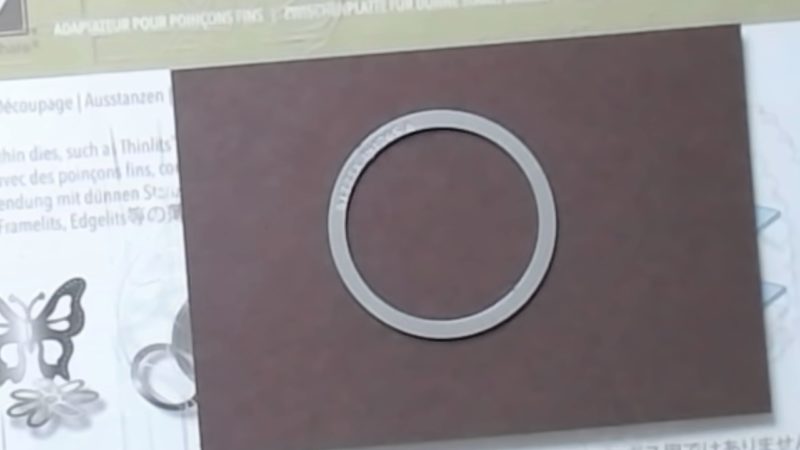
Next use your circle thinlits to cut out the O in Joy. I used the third smallest circle from the Layering circles set.

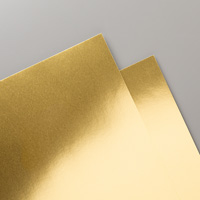
Once you’ve cut out your circle, layer the card onto a piece of gold foil card measuring 3″ by 4 1/2″, and draw around the circle you’ve cut. This will show you where you cut out the next circle.


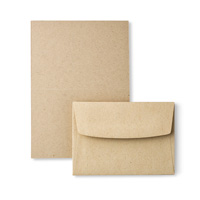
Do the same with a piece of Chocolate Chip cardstock measuring 3 1/4″ by 4 3/4″. These layers are designed to fit perfectly with the Stampin’ Up! notelets.

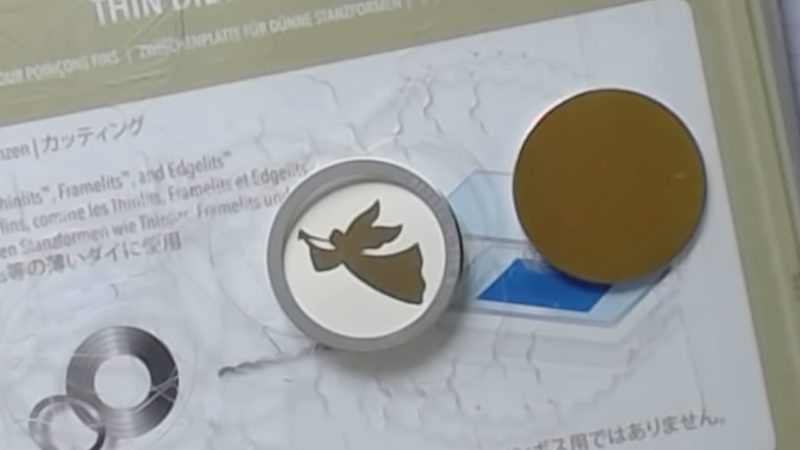
Then I used the smaller circle thinlit to cut out my angel, and also the gold foil circle for the back of the spinner. This circle is the second smallest in the set.
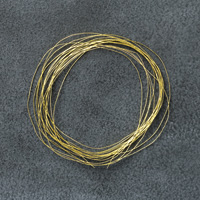
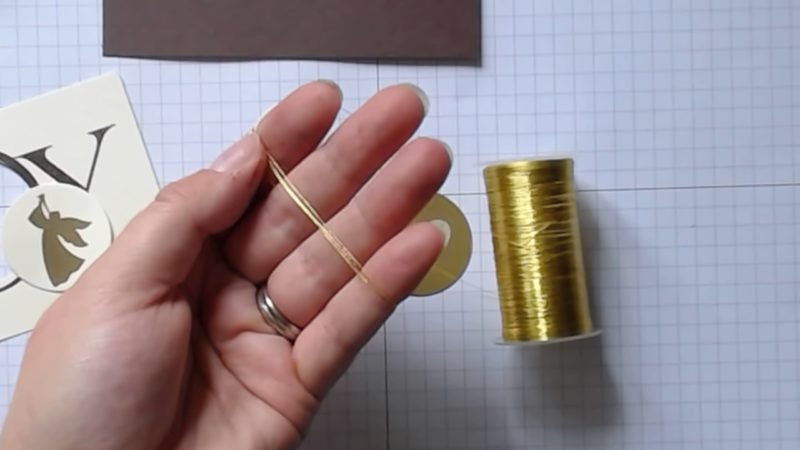
Using the gold metallic thread, I wound it around my fingers 4 or 5 times, and twisted it to make a thicker cord.
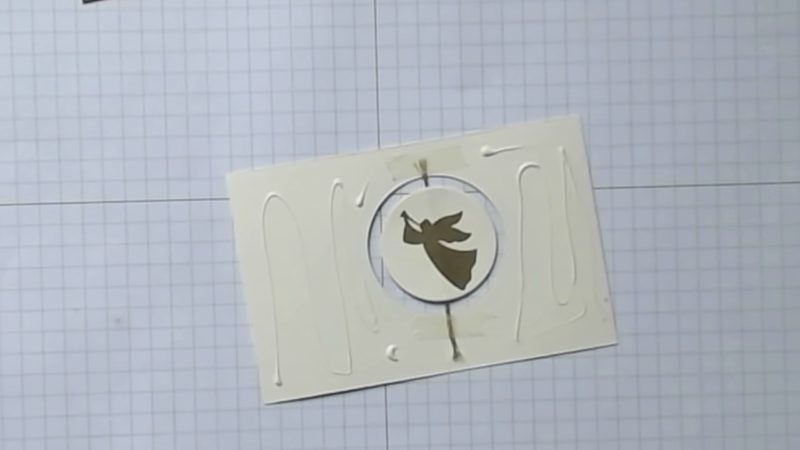
Turning over my card (and making sure that “Joy” was the right way up!) I placed the gold foil circle in the centre, and stuck the metallic thread down with tear tape. Make sure you stretch it tight when you stick down onto the card, and trim off any excess.

Then I used Tombow multipurpose glue to stick on the angel, and then across the back of the card so I could stick it to the gold foil layer.
Line up your Very Vanilla card so that the two holes align. The Tombow glue should give you some room to slide it around until you get the positioning where you want it.

Follow the same steps to glue your gold and Very Vanilla layers onto the Chocolate Chip layer, again aligning the holes.

Using one of the Crumb Cake notelets, make a score line 1″ from the bottom of the card base.

This fold will give you the easel part of the card.

Apply glue to the bottom inch of your Chocolate Chip layer, and stick to the Crumb Cake notelet.

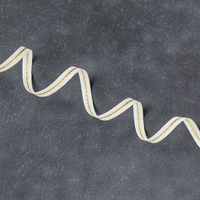
To give your easel something to lean against, stick some 1/4″ Natural Trim in gold along the bottom inside of the card, trimming neatly at the edges.

Your card is now finished!

Video can be found on my YouTube channel here:
I hope you have fun making this project, and I’m sure your friends would love to receive it. Watch out for more Christmas card videos coming soon!
All materials used are listed below.
Happy crafting!