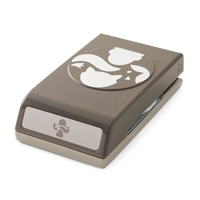
I shared some Pikachu punch art on my facebook page yesterday, and got so many requests for instructions that I just had to do a tutorial, so here it is! All you need is the Owl builder punch, the Fox builder punch, scissors, glue, and a black pen. I used Daffodil Delight cardstock for the yellow, and Real Red cardstock for his cheeks.
Start by punching out 3 owl bodies and 2 fox ears in yellow, and 2 of the medium owl eyes in red. Then follow the guide below to trim each owl body as shown, and cut the ears in half.


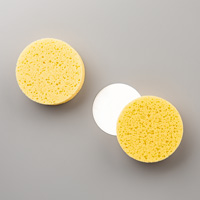
You should end up with pieces like this. Glue the feet onto the body (nice and wide apart), and glue 2 ears onto the head. There’s an optional sponging of the edges shown here, but I didn’t do it for my original pokemon. I used Delightful Dijon ink, and it gives a nice impression of dimension and curves.


Next glue the red cheeks onto the face. You’ll need to trim these at the side, which I found easier if I turned him over. Extra tip: trim the cheeks before you glue the head on, it’ll be far easier! Next use your black pen to draw on the nose, eyes, and blacken the tips of his ears.


The final (and optional stage) is to stick some tear-off tape on the back of a mini tictac box, and stick it to your Pikachu. Now your pokemon is finished! Below you can see the sponged punch art on the left, and without sponging on the right, so you can see the effect clearly.


I hope you enjoyed this tutorial and found it useful. Please leave me comments with pictures of your own pokemon creations! Happy crafting!
Click below to buy the items used to make this project: