
Aren’t these teeny gift bags the cutest?! This week we’re casing the lovely Andrea Gutzmer, check out the info here. I just love her teeny bags using DSP and cardstock for little sweetie pouches. I decided to make my version a little smaller, as I had some Fererro Rochers just crying out for cute packaging. I also decided to use coordinating cardstock for by bottom half rather than white, as I wanted a nice contrast with the Designer Series Paper top.
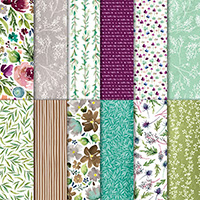
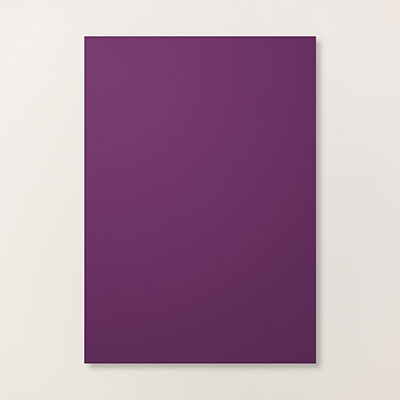
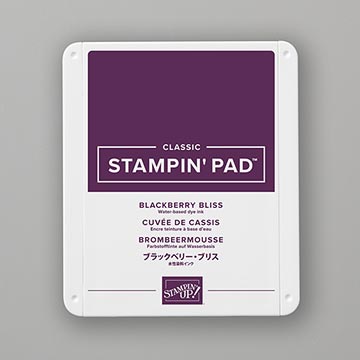
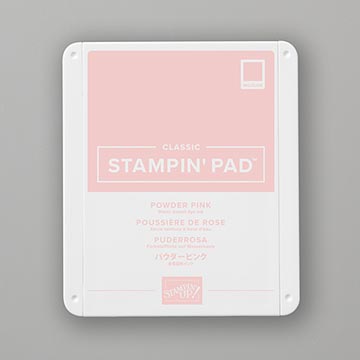
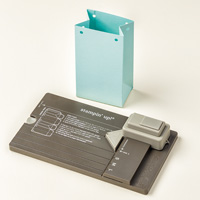
I started with the Frosted Floral Speciality DSP and selected Blackberry Bliss and Powder Pink as my coordinating colours of cardstock and ink. Now, I quickly realised that making the bottom half of the box would be a simple thing to do, using the Gift Bag Punch board. But as I hunted high and low, I discovered to my dismay that I don’t own it!! This is a serious oversight that I will be rectifying immediately! (For anyone local wanting to save on postage costs, I’m putting in an order tomorrow, drop me a message by 10pm tonight if you want to join in with my order!) But I was not deterred, and turned to my trusty trimmer. With both scoring and cutting blades, it did the job nearly as well, even though the diagonals were a challenge. If you’ve not got the Gift Bag board, I’d recommend it!
So, I made the base 4cm square. The Powder Pink was my first, and I made a cube that was 4x4x4 cm. I realised this was a little snug for my chocolate, so the Blackberry Bliss version is 6 cm tall, which works much better for my purposes. I love the flexibility of making my own gift bags and boxes, and changing the sizes to suit my needs.
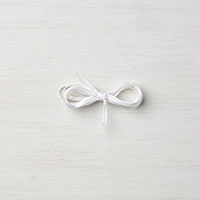
The top was a simple matter of cutting and scoring a strip of the stunningly beautiful DSP, and fastening at the top with some Whisper White ribbon. I considered using my Blends to colour the ribbon, but I think it’s more effective left white.
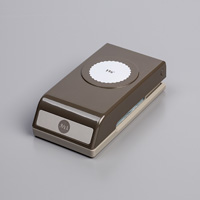
Finally the toppers on the front were stamped using the Cake Soiree stamp set, with the flower in Powder Pink and the sentiment on top in Blackberry Bliss, then punched out and layered with the Scallop Circle punches. I stuck the topper to the DSP half of the box, so the whole top slides off easily.
These boxes were really easy to make, and I can see me making many more in the future (once my punch board arrives!).


If you joined in with this challenge, be sure to head to the Craft with Emma Facebook page and share your creations.
If you’re following this challenge, you’ve hopefully joined me from Becki Ritson at Sunshine Stamping. Your next stop now is Sandra Roberts at Sandra’s Stamp & Craft Studio to see her take on this week’s challenge, follow this link here!
For next week, we all decided on the card together! We love the pop up and twist cards that have been so popular recently, and so next we’ll case the very clever Carol Borgeson. You can find her video here showing the project we’ll be CASE’ing next week if you want to join in. It’s a technically interesting card, and I’m looking forward to this challenge very much!

Come back next week to see the cards Becki, Sandra and I have made using Carol’s card as inspiration.
Remember, we want YOU to join in too! If you’d like to join in the challenge, please go to my Facebook page Craft with Emma where you can share your creations, I’d love to see what you come up with!
Happy stamping!
Supplies used:


Leave A Comment